|
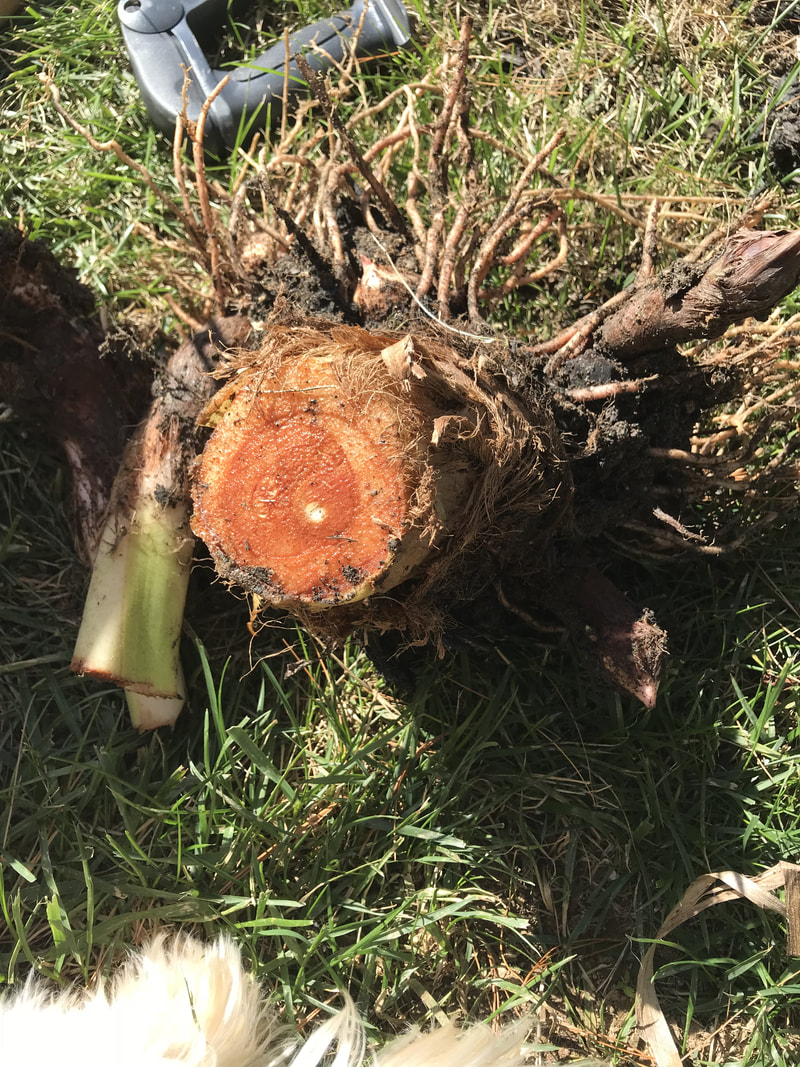
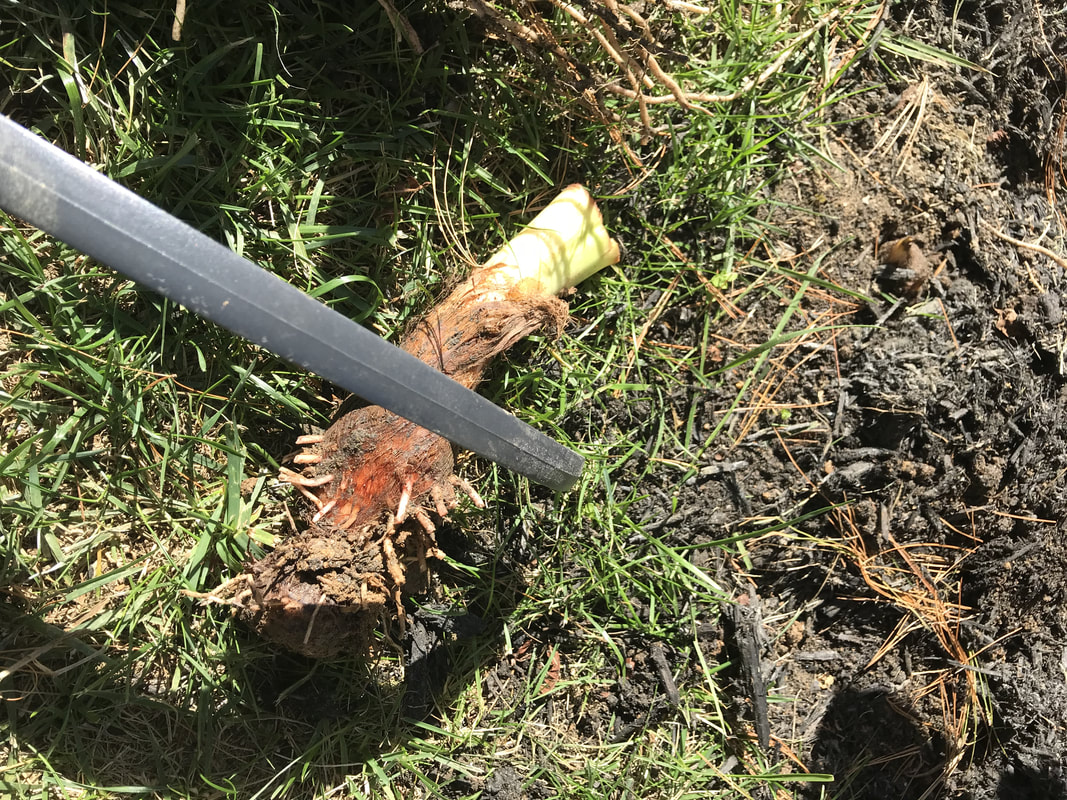
We had a hard frost last night so that means today I have to cut down the elephant ears and banana trees. I really hate to have to do that as they are so nice. The elephant ears are enormous this year. But I know that next year they will be just as nice. I am going to concentrate on the elephant ears here. Of course, I didn't remember to take any picture of them before I cut them down, but did find a photo of them coming up in the spring from a few years ago. 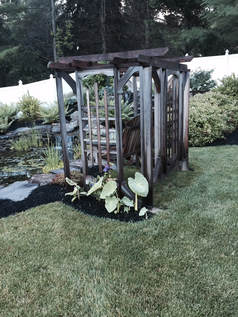 These are really nice plants. they grown in almost any conditions but are tropical so they either need to be brought in or the bulbs harvested in the fall. This spring I planted 4 bulbs and today I harvested about 16 - 20 bulbs. Once you get one plant you should never need to buy another one again. I purchased my plant as a house plant many years ago. I found that after several years in the pot and several re-poting they just were not looking great. So one year I decided to plant them directly in the ground. Wow, what a difference that made and now I am overrun with them. So as I mentioned at the beginning, we had a frost last night. I could have left the plants for a few days but I like to make sure they are healthy when I take them in. This is really easy and doesn't take long. The first think I did was cut down all the growth. This just makes it easier to handle everything. You are going to cut all the stalk off anyway so you don't want to deal with this. I used a hack saw as the stems are thick but not hard to do. They are mostly water. Next I dug up the bulbs. Don't worry when doing this that you will cut some roots or the bulbs themselves. You are going to cut all the roots off anyway and separate the bulbs so they will have to break. This does not hurt them at all. After I had the bulbs out I cut all the short roots, cut any stems remaining and separated as many of the individual bulbs as possible. Of course, make sure you get as much dirt out from around the bulbs as possible. You don't want that. Then package them in a sturdy box or some sort of container and store in a cool (not cold do not let them freeze, also not warm you don't want them to sprout) place for the winter. In the spring, after the soil has warmed just replant the bulbs. You could also package some of them in burlap fabric and put them in a gift bag or box and give them as Christmas presents. Certainly you will have many more than you stated with, so give as many away as you like.
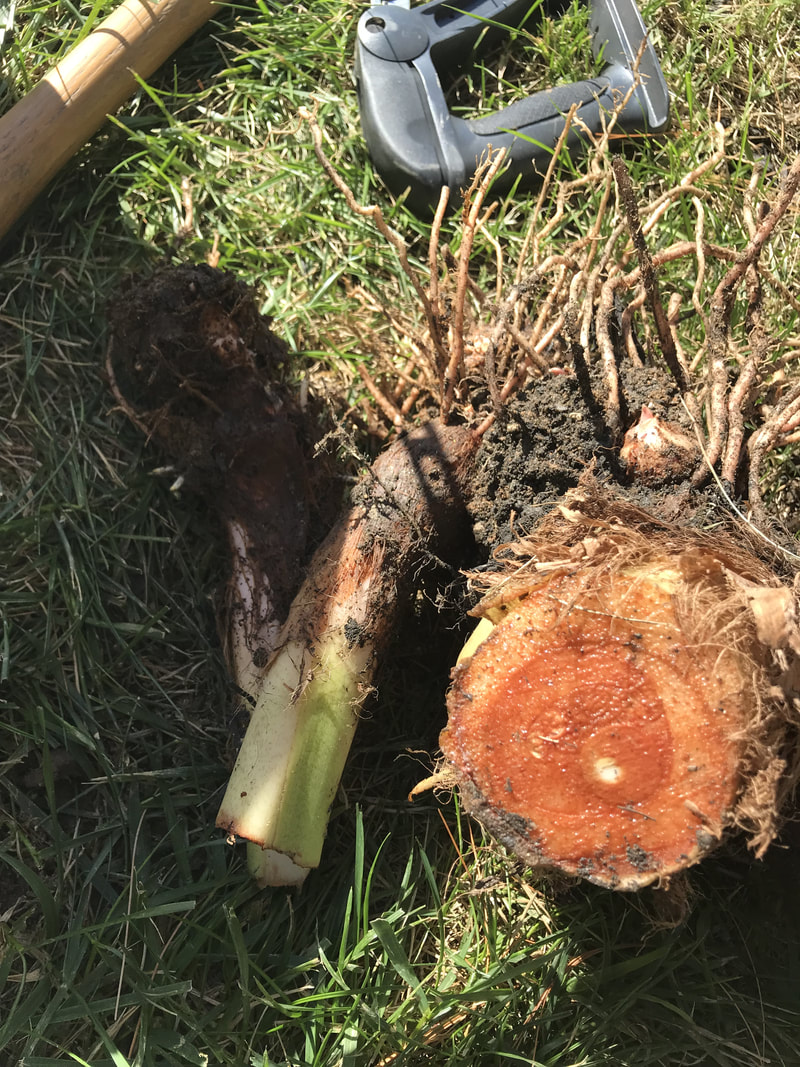
This is what they look like when you dig them up. Sometime there will be bulbs that seperate from the main mass.
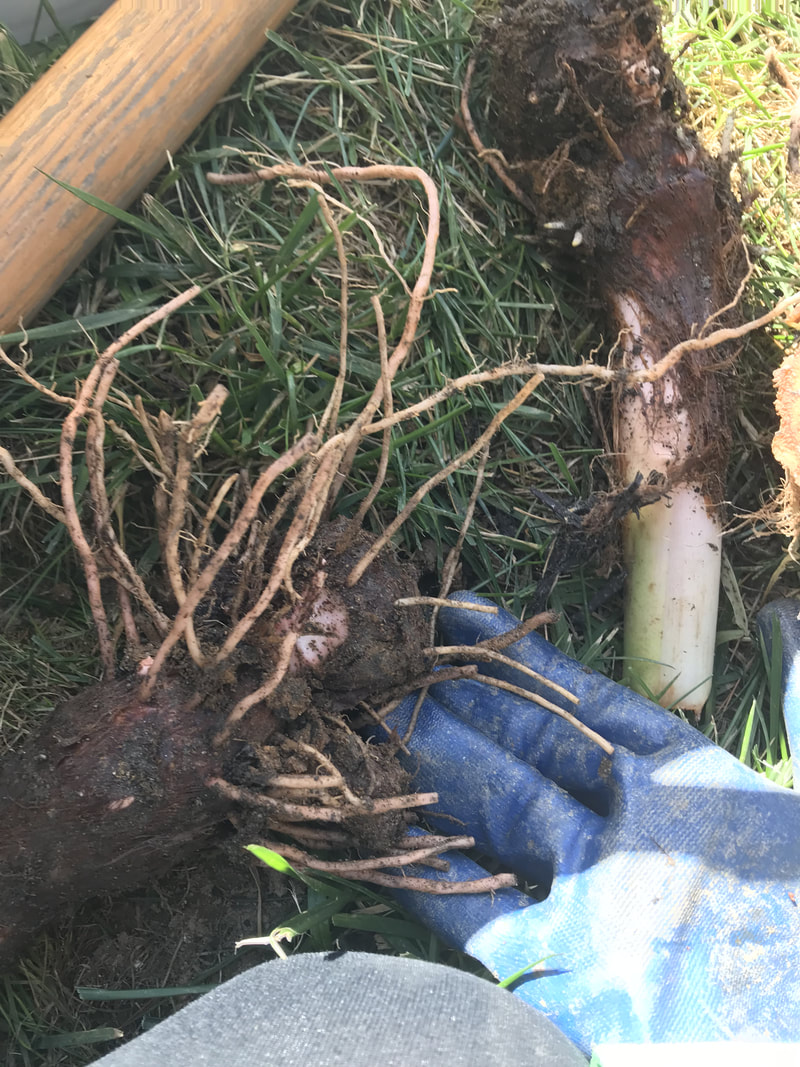
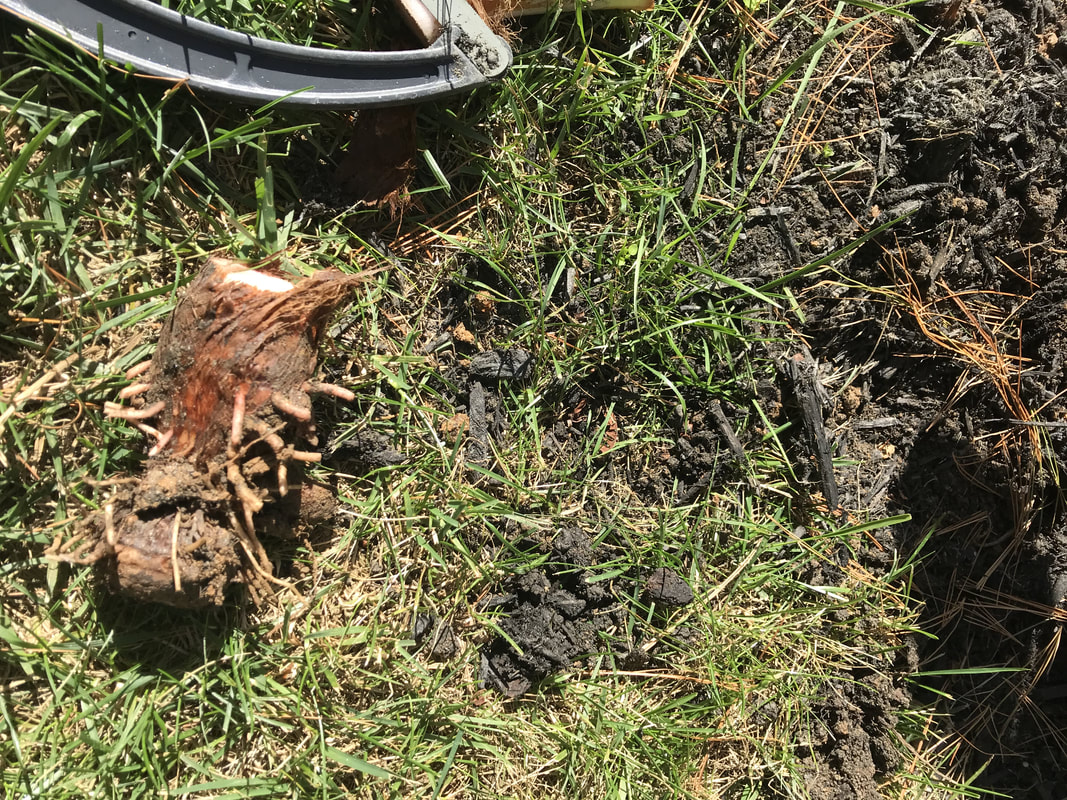
All these little roots need to be cut off. Don't worry it will not hurt the bulbs.
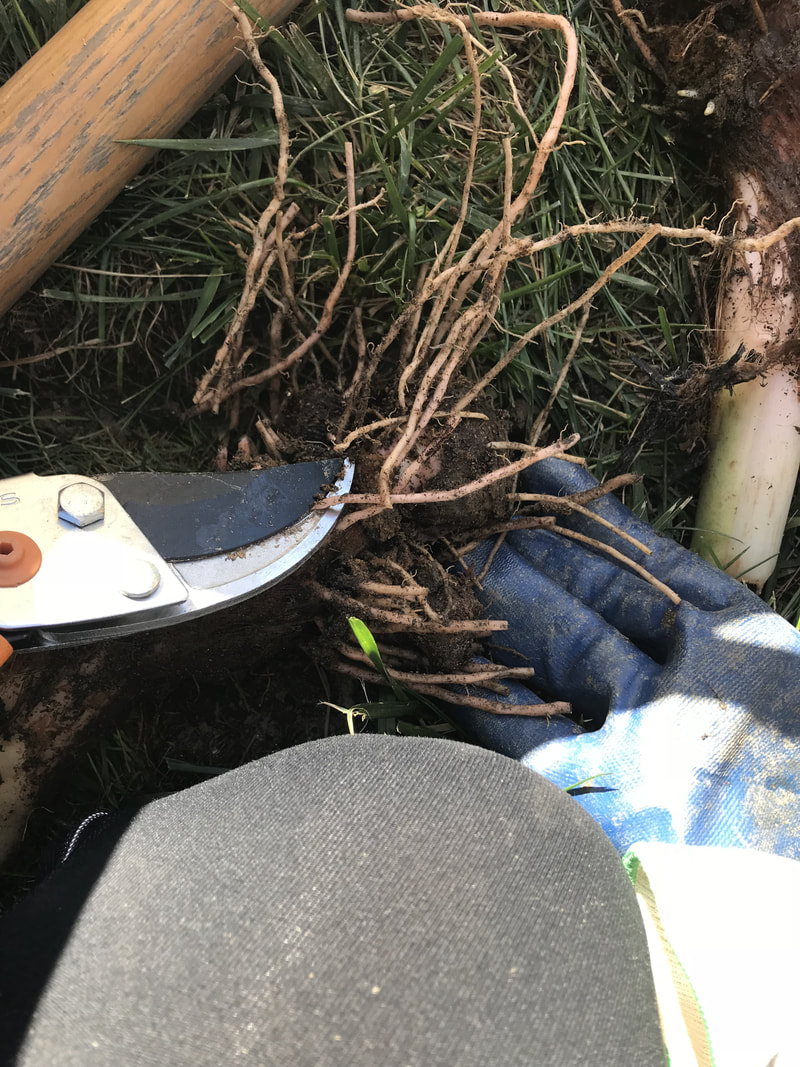
I am cutting any additional stalk off the bulb. This is going to dry up anyway and just takes up space in the storage container. You can see that I don't have much left of an individual bulb. You will have some that are much larger than this.
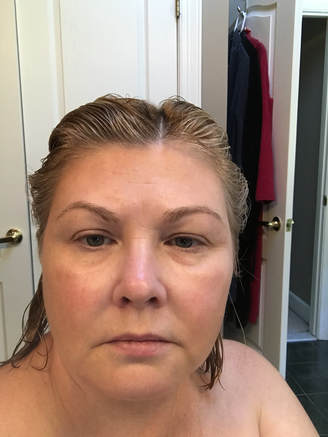
By now you have figured out that I am not a professional blogger. I don't remember to take pictures that might go along with what I want to talk about (unless it is of Em). So why would today be any different? It's not! Before I get started I want to mention that I have not been offered or taken any compensation for the products that I am discussing. I don't want anyone to thing this is an advertisement for any company, it is not. If I have not used a product and loved it I will not recommend it. The other day, I was having a conversation with my mom and she mentioned how clear my skin is. After thinking about it, I thought I should share how I keep my skin so clear. She wanted to know so maybe others might want to know too. Just so you don't misunderstand, I am 55 years old. My skin has not always been this clear. I had a bunch of dark spots and still do but they are much less pronounced. I also noticed that I was getting those dreaded fine lines. I have always said that I will not age gracefully. I am going to fight it kicking and screaming. So I searched products that would diminish those spots and lines. I have tried numerous products and some work but not well. Until I found the one product that I just love.
This product is great, it only takes a few minutes once a week. Don't think that by using this that you will magically have clear skin, you won't. There are some things that you absolutely have to do. The most important is sunscreen. A sunscreen that is specially formulated for your face. You can use any type you like . I use Revision Skincare Itellishade Original antiaging tinted moisture with sunscreen. I love this product it goes on smooth, is a moisturizer built in (saves a step), a the tint is great (some days I skip foundation). This is not the main product I want to introduce you to though.  The main product is PMD Personal Microderm. It is a small handheld device. There are a number of grinding heads (that sounds so harsh) that you work your way up to the highest. It does not hurt, sometimes I feel a little tingling afterwards but nothing much. It is so easy to use, I wish I could figure out a way to do a video while I am using it. I am sure I will eventually figure it out. Once I do I will post it for everyone. I use this once a week and it has really made a difference. Also after using this device any products you use absorbs so much better (hint moisturizer and sunscreen). 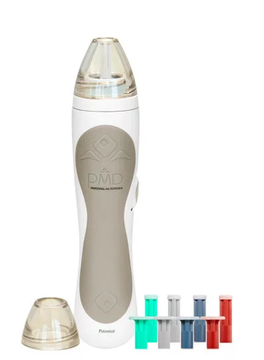 The companies web site has how-to videos and lots of information about the product.
A few days ago I picked apples. When I go to those pick your own places I find that I pick way more than I need. Well indeed that is what happened the other day. So what to do with all those apple? I knew I wanted to make a pie. I bake lots of things but don't do pies but when you have apples what are you suppose to do. Pies do not take a lot of apples so I still had a lot of apples left. I decided to make applesauce and can it in my pressure canner. I decided on applesauce because it doesn't seem very desserty (a new word) and it is really easy. 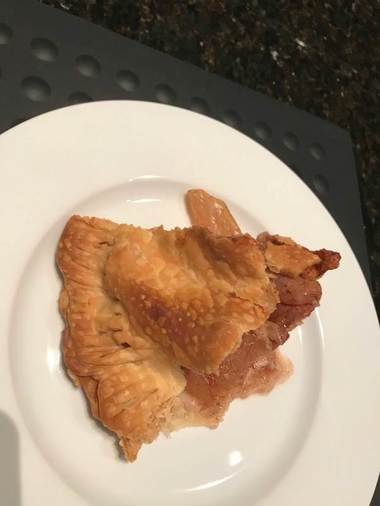 Apple Pie I don't make many pies so I make this as easy on my self as possible. I have two worries when making pies, is the crust going to be to tough and will the pie be watery. My solution for the crust is to use premade crust. It saves time and no worries about bad crust. Frankly, why not use premade items if it make sense for you. I feel no shame at all. If you are worried about a watery filling just put in a little corn starch in the filling. That helps to thicken it up. I didn't use the corn starch for the apple pie though. So here is my pie recipe which I will also post in my recipe section. Ingredients: 1 box refrigerated pie crust (it should have 2 crusts in and you will need both) 3 - 4 apples of your choice. I used Stamen as that was what was in season but there are a lot of other varieties that work great. 3/4 cup sugar 1 tsp cinnamon butter Directions: Take crust out of fridge and let sit while you are peeling and cutting the apples. Peel, core, and slice apples Combines 3/4 cup sugar and one tsp of cinnamon together sprinkle sugar mix over the apples and tossed Dump apple mix in in the pie shell Top with a few dabs of butter on top of apples (you don't need to use much) Place the top crust on, cut slits to let the moisture escape Bake for 1 hour at 425. 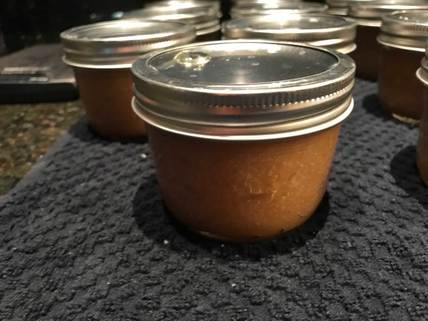 Applesauce
This is even easier than the pie (no crust) There are a ton a applesauce recipes out there and they are all about the same. I just threw the basic ingredients together don't worry to much about the amounts. If you want to jazz it up you can add ingredients like cranberries of other seasonings. Ingredients: 12 - 14 Apples* (you can mix varieties) 3/4 cup sugar (you may want more sugar depending on your tastes) 1 tsp cinnamon 1/2 cup apple cider (canuse water if you don't have cider) Peel and chop the apples (a rough chop is good enough). Throw them in a large pot Add 3/4 cup sugar, 1 tsp cinnamon and apple cider Cook until softened Mash with an immersion blender or food processor until you get the consistency you like. * if you don't have that many apples just reduce the amount of sugar and cinnamon to coincide with what you have. After that I followed my local extension service recommendations of processing times for canning. It was really that simple. You don't have to be exact about the amount of sugar or cinnamon for either of these recipes. |
AuthorWrite something about yourself. No need to be fancy, just an overview. Archives
February 2019
Categories |

 RSS Feed